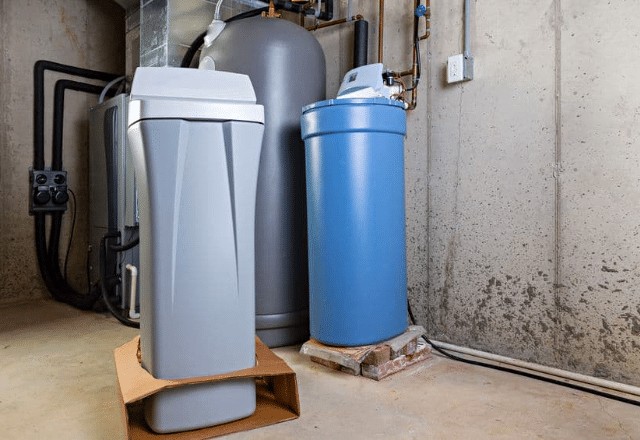
Hard water crammed with minerals wreaks havoc in homes, marring fixtures with scale buildup, reducing soap/detergent efficiency, and more. Thankfully, whole house water softeners banish the hardness for better functioning appliances, easier cleaning, and water savings. This guide covers choosing the ideal location, tools required, steps to install various types of water softeners, bypass valve settings, troubleshooting advice and proper maintenance.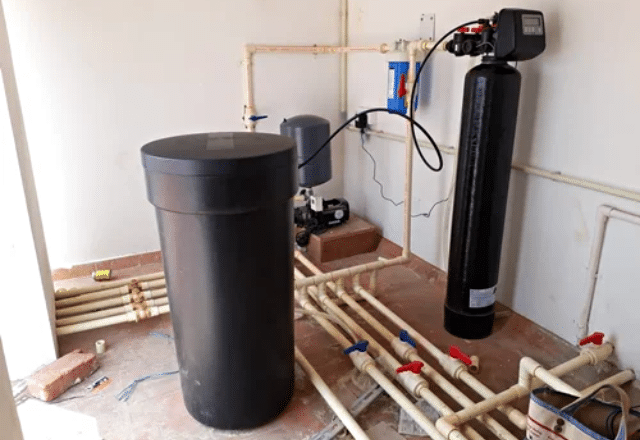
Choosing the optimal installation location tops the pre-planning list for DIYers and professional water softener installers alike. Consider these key factors:
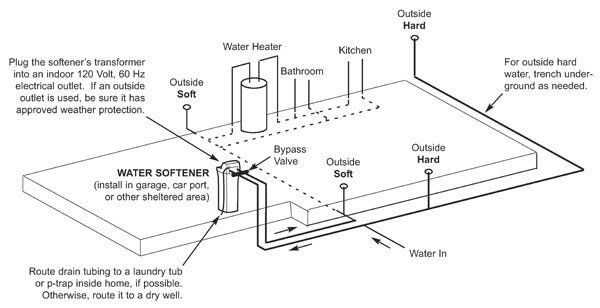
Survey existing household plumbing to orient which direction water enters and exits to align with water softener inlet/outlet ports and connect water lines appropriately later. Most models position inlets and outlets on the bypass valve mounted on the mineral tank.
Set the softener unit near the main water supply lines to limit the distance purified water must travel from the softener to supply household plumbing fixtures. This retains beneficial pressure and flow.
A suitable floor or wall drain with capacity to discharge backwash water resides within reach via the included drain hose. Without an accessible, working drain, installation stalls.
While some salt-based softeners rely on manual regeneration valves, many utilize electronic meters and controls requiring an nearby, dedicated 120V electrical outlet to power the system.
Avoid temperature extremes. Outdoor installation requires weatherproof cabinetry for security and to maintain resin bed functionality. Indoors, avoid installing directly next to water heaters or furnaces which could distort readings.
With location planned, attention shifts to assembly. Prepare by gathering all necessary materials and tools.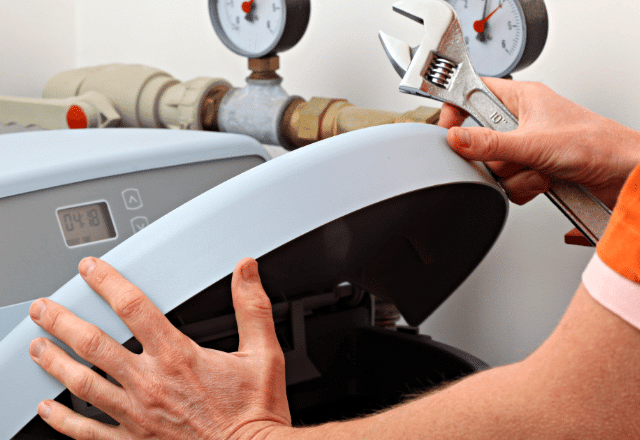
Customizing water lines to integrate the softener, securing the mineral tank, connecting control valves and configuring settings requires an assortment of key gear:
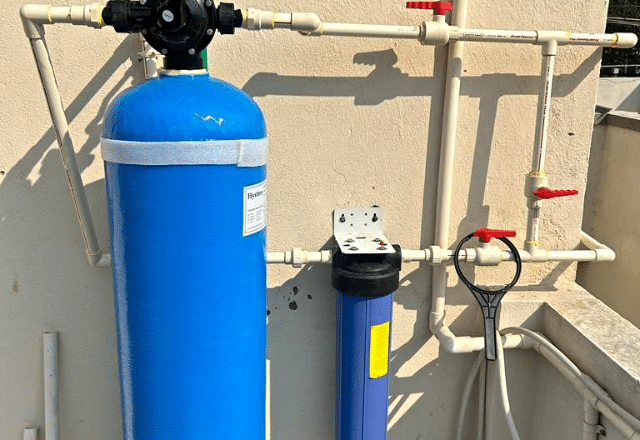
Once the prep work finishes, the installation flows through these key phases:
Shut Off Water Supply, Release Pressure
Secure mounting bracketry then halt home water supply at the main valve. Open downstream taps to depressurize lines.
Disconnect Existing Water Treatment Equipment
Dismantle incumbent water filters, softeners etc. but leave supply lines intact for new connections. Cap unused inlet ports.
Position & Level Mineral Tank
Situate the mineral tank, aligning valve bodies to planned pipe runs. Level vertically & horizontally. Mark bracket holes.
Mount Control Head Assembly
Attach the control head to the mineral tank per specifications, ensuring proper seal.
Connect Inlet & Outlet Piping
Modify existing plumbing by cutting supply lines. Insert flow meters, fittings and adapters to link pipes to the bypass valve ports, bypassing old equipment. Adhere to codes.
Install Drain Line
Run tubing from the drain outlet on control head to floor drain or other discharge point, securing hose along its path.
Link Brine Tank
Join brine tank to control head via overflow tubing. Fill with salt.
Connect Transformers
Allow proper airflow for transformers and plug power cables into outlets reserved exclusively for the softener.
Configure Settings & Values
Key in time of day, water hardness as GPG or grains per gallon based on municipal water supply reports, desired efficiency percentage and other customizations per user manual.
Power Up Softener, Test Functionality
Return household water on, verify softener activates, inspect for leaks throughout system. Manually initiate regeneration to confirm functioning valve and smooth backwashing.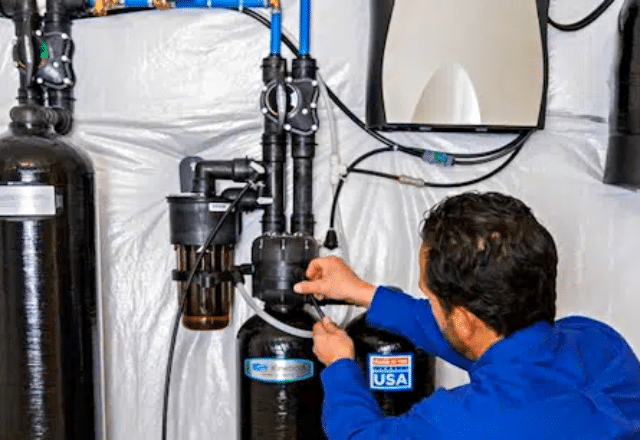
Pre-plumbed water softeners come as an integrated unit with the valve, tank, and connections already assembled and mounted on a base plate, which makes installation significantly simpler than traditional systems. Before beginning the installation, you’ll want to identify a suitable location near your main water line that’s level, dry, and has access to both a drain and a 120V GFCI electrical outlet. The space should also allow enough room for routine maintenance and salt loading.
The key advantage of pre-plumbed systems is that many complex steps are already completed at the factory. You won’t need to assemble the brine and resin tanks, and the connections are pre-fitted and pressure tested. The built-in bypass valve is already installed, and the unit often includes pre-mounted brackets or stands. This integrated design typically requires less space than traditional setups.
The actual installation process begins with shutting off your main water supply. You’ll then cut into the main water line at the marked points and connect the inlet and outlet pipes to their corresponding ports on the unit, which are usually clearly labeled. Next, you’ll need to install the drain line to a suitable drain point and ensure the brine line is properly connected if it isn’t already.
For the final setup, add water to the brine tank and fill it with salt pellets. Once the unit is plugged into the electrical outlet, you can program the control valve and run an initial regeneration cycle to ensure everything is working properly. While pre-plumbed systems offer less flexibility in customizing the layout compared to standard installations, they make up for it with reduced installation time and fewer potential points of failure.
Aspect | Residential Installation | Commercial Installation |
Flow Rate Requirements | 7-15 gallons per minute | 40-100+ gallons per minute |
System Configuration | Single tank system suitable for 2-6 people | Multiple tanks or duplex systems for continuous operation |
Space Requirements | Compact installation in basement or utility room | Dedicated mechanical room with proper ventilation |
Plumbing Infrastructure | 3/4 inch pipes standard, basic bypass valve | 1-2 inch pipes, complex bypass systems |
Electrical Requirements | Standard 120V outlet | 220V service, possibly backup power systems |
Water Quality Monitoring | Basic hardness removal | Multiple parameters, additional filtration systems |
Installation Time | 2-4 hours typical completion | Several days, often requiring off-hours work |
Maintenance Needs | Basic periodic maintenance | Rigorous maintenance schedules, professional service records |
Regulatory Requirements | Minimal permits needed | Specific permits, testing, and compliance documentation |
Cost Considerations | Moderate initial investment and operation costs | High initial investment, significant operational expenses |
Optimizing softener programming bolsters performance. Tweak these key parameters:
Newly installed softeners commonly hiccup. Review these issues and fixes:
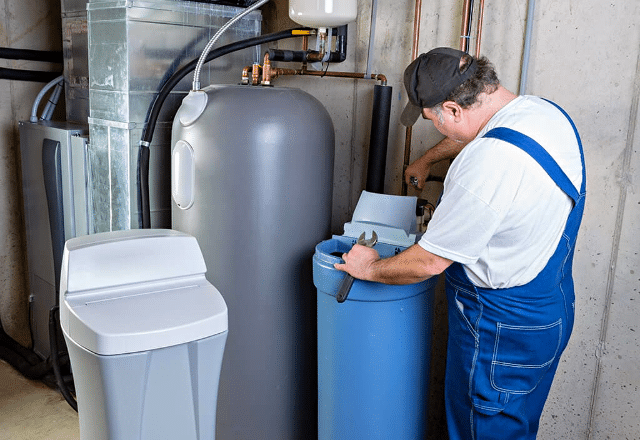
Ongoing softener care sustains efficiency:
1. Replenish Salt
Maintain salt levels above resin bed to fuel recharging. Use varieties formulated specifically for softeners.
2. Inspect Brine Tank
Periodically check the brine tank for accumulated dirt and indications of salt bridge development.
3. Test Water
Use test strips to validate softened water quality. Hardness readings help set parameters.
4. Sanitize System
Disinfect resin tank periodically by carefully pouring household bleach into the brine well after an initial manual recharge to purge contaminants.
5. Defer Servicing to Professionals
Certified technicians perform extensive troubleshooting, repairs beyond DIY-scope and annual maintenance.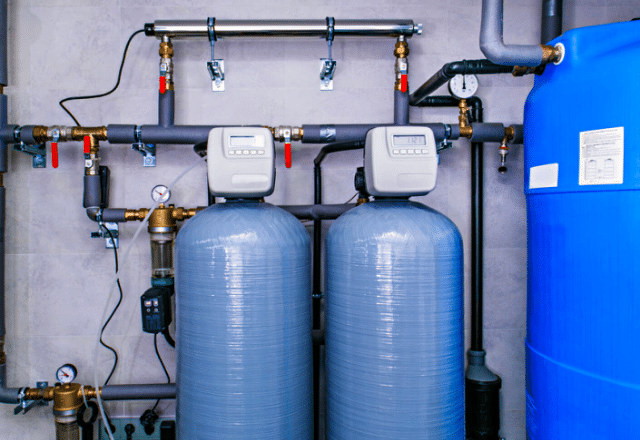
A water softener requires a properly grounded, continuously powered 120V electrical outlet within 6-10 feet of the installation site. The outlet should be on a dedicated 15-amp or 20-amp circuit to ensure reliable operation of the system’s electronic control valve and timer. While most modern water softeners only draw between 0.8 to 3 amps during normal operation, the startup cycle can briefly demand more power. For safety and code compliance, the outlet must be protected by a ground fault circuit interrupter (GFCI) since it will be in proximity to water connections. Never use an extension cord as this creates both an electrical hazard and may void the manufacturer’s warranty. If a suitable outlet isn’t available near the intended installation location, have a licensed electrician install one according to local building codes. Consider having them add a surge protector to safeguard the softener’s electronic components from power fluctuations.
Opting for professional assistance for the installation of a water softener is advisable for several reasons:
In conclusion, professional assistance in the installation of a water softener not only ensures that the system functions correctly and complies with all regulations but also helps in preventing potential problems that could arise from incorrect installation. This ultimately safeguards your home from water issues and ensures that you have access to clean, softened water.
Q: I have copper water supply pipes. Do I need special connectors to link my new water softener unit?
A: Yes – the salt in the brine solution used during softener regeneration can corrode copper pipes and joints. Use plastic tubing with compression fittings to connect the inlet and outlet ports on your bypass valve instead with copper water lines.
Q: Why does my water softener keep using more salt but my taps seem just as hard?
A: Excess salt usage coupled with unchanged water hardness likely indicates an issue called “bridging”. Hardened salt forms a bridge above the softening resin bed, starving it of brine solution for recharging. Carefully poke the salt crust with a broomstick to break it up and improve flow.
Q: Now that I have a water softener installed, do I still need to descale my showerheads and faucets?
A: Yes, depending on when hard water scale accumulated prior to installing the water softener. Run citric acid descaling solutions through fixtures to dissolve mineral buildup from past hard water exposure. Maintain descaling every 6-12 months. Going forward, soft water will prevent future scale deposits.
I bring over 9 years of dedicated plumbing experience to the table. As a seasoned professional in the plumbing industry, I've tackled a wide range of projects, from residential repairs to large-scale commercial installations.

