Is your home feeling a bit too chilly or unexpectedly warm? Before you start worrying about your HVAC system, it might be time to check your thermostat. Learning how to test a thermostat can save you time, money, and unnecessary stress. In this comprehensive guide, we’ll walk you through the process of testing your thermostat, helping you determine if it’s working correctly or if it’s time for a replacement.
Your thermostat is the control center of your home’s comfort. When it’s working correctly, it helps maintain a consistent temperature and keeps your energy bills in check. However, like any device, thermostats can malfunction. Here are some signs that it might be time to test it:
Regular thermostat testing is an essential part of home maintenance. Most thermostats have a lifespan of about 10 years, but issues can arise at any time. By learning how to check it, you can catch problems early and potentially save on costly repairs or replacements.

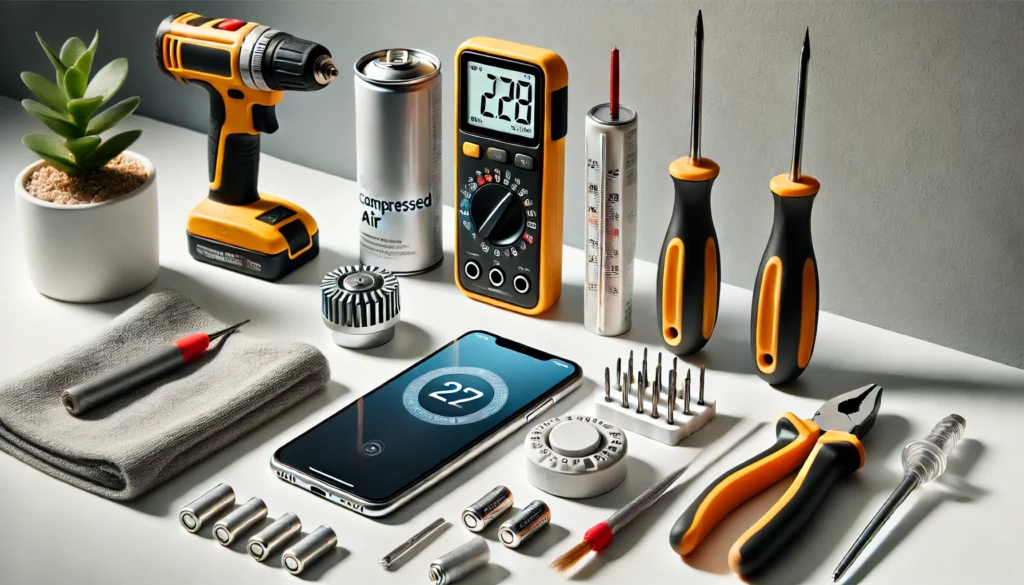
Before we dive into the testing process, gather these tools:
The first step in how to test a thermostat is ensuring it’s receiving power. For battery-operated models, simply replace the batteries. For hardwired devices:
If the display is blank after checking these, there might be an issue with the wiring or the device itself.
Sometimes, the problem isn’t a malfunction but incorrect settings. Double-check that:
To test your device’s basic functionality:
If your system doesn’t respond, it’s time to dig a little deeper.
Safety first! Before examining the wiring:
With the cover off and power restored:
If you see a response from the device but no action from your HVAC system, the issue might be with the system itself rather than the thermostat.
To check if yit is reading temperatures accurately:
A difference of more than 1 degree might indicate calibration issues or a faulty temperature sensor.
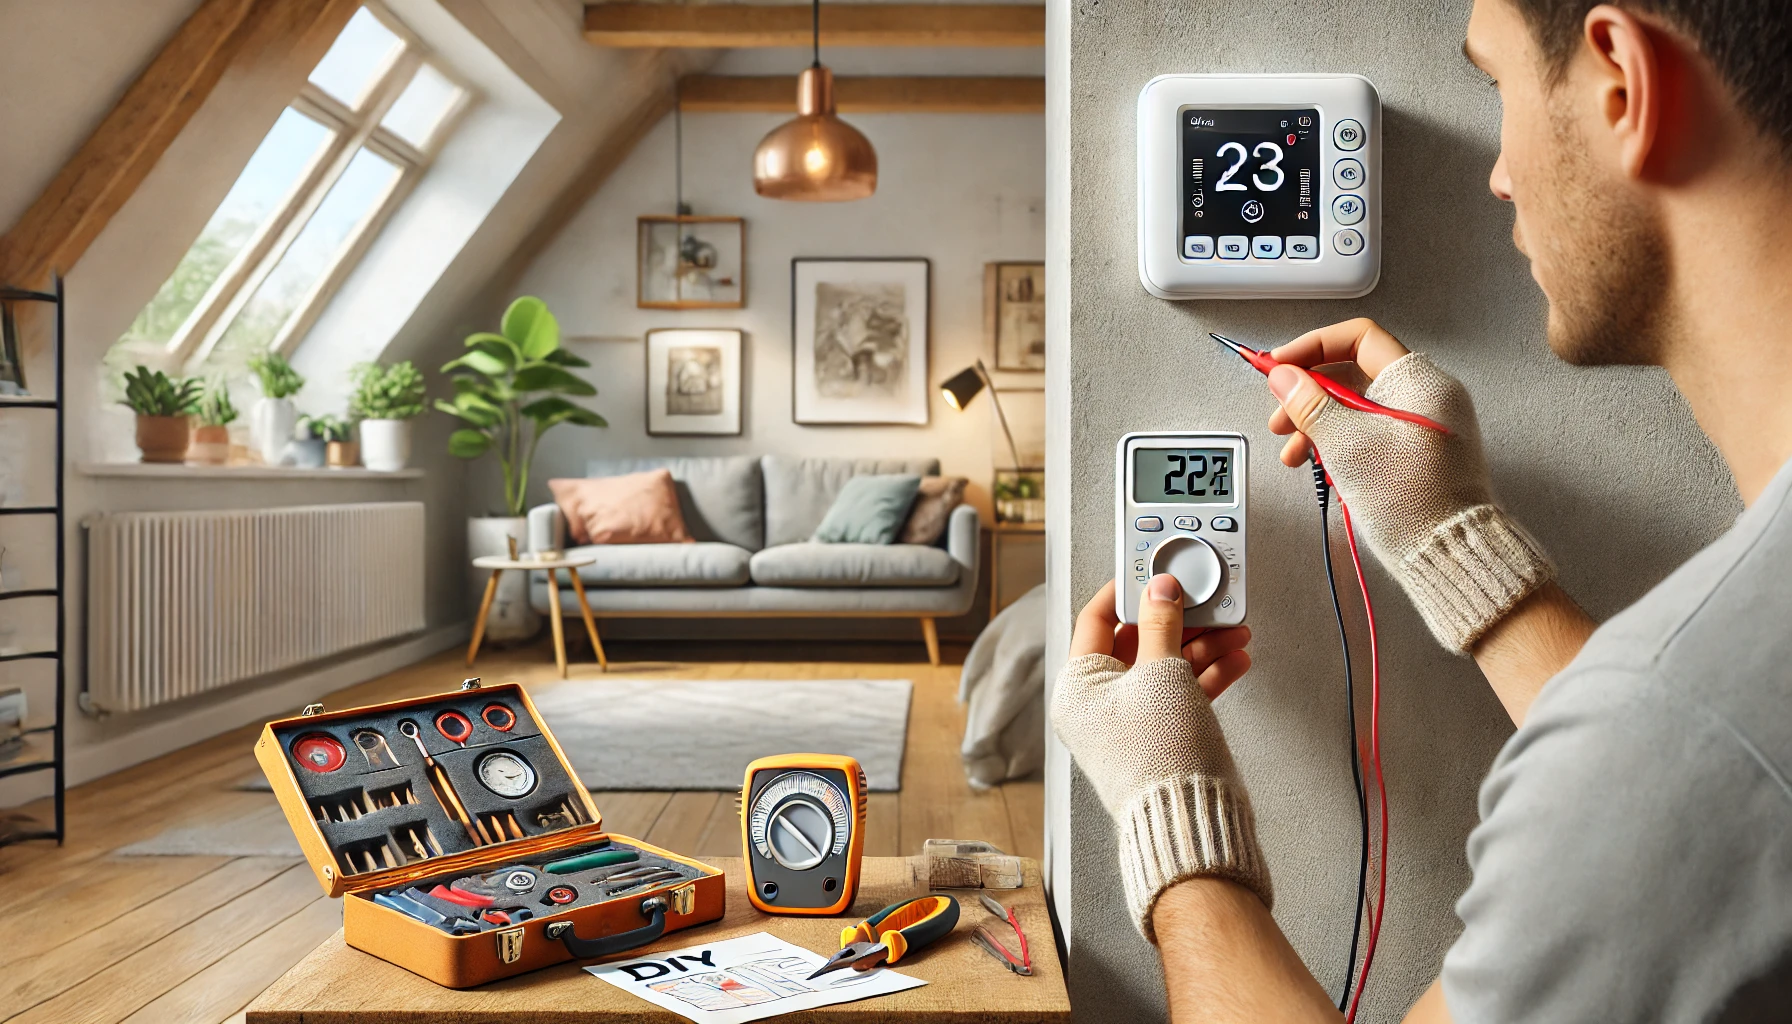
For those comfortable with electronics, you can use a multimeter to test the components:
While many issues can be resolved with DIY testing, some situations call for expert help. Contact a professional if:
At 5 Star Plumbing, our trained technicians can diagnose and resolve complex thermostat and HVAC issues quickly and safely.
If your tests reveal that it’s time for a new device, consider upgrading to a smart one. These modern devices offer:
Smart equipment can lead to significant energy savings – up to 10-12% on heating and 15% on cooling for the average household.
Regular testing is a simple yet effective way to ensure your home stays comfortable and energy-efficient. By following this guide on how to check your device, you can catch issues early, potentially save on energy bills, and extend the life of your HVAC system.
Remember, while DIY testing is valuable, there’s no substitute for professional expertise when dealing with complex HVAC issues. If you’re unsure about any step in the testing process or if you discover a problem you’re not equipped to handle, don’t hesitate to reach out to the experts.
Ready to upgrade your tdevice or need professional testing services? Contact 5 Star Plumbing today. Our team of experienced technicians is here to ensure your home stays comfortable all year round.
We recommend testing it at least twice a year, ideally before the peak heating and cooling seasons.
Yes, a malfunctioning device can cause your HVAC system to run unnecessarily or inefficiently, leading to higher energy consumption and increased bills.
Digital thermostats often have self-diagnostic features and are generally easier to test. Mechanical ones might require more hands-on inspection of physical components.
Basic tests are safe for most homeowners. However, if you’re uncomfortable working with electrical components or if your tests involve opening the device, it’s best to call a professional.
If your device responds correctly to setting changes but your HVAC system doesn’t activate, the issue likely lies with the HVAC system. If the device itself isn’t functioning properly or showing accurate temperatures, it may need replacement. When in doubt, a professional diagnosis is the most reliable way to determine the source of the problem.
I bring over 9 years of dedicated plumbing experience to the table. As a seasoned professional in the plumbing industry, I've tackled a wide range of projects, from residential repairs to large-scale commercial installations.


Man, this guide couldn’t have come at a better time! Just last week I was battling with my AC system, and it turned out to be a faulty thermostat all along. The voltage testing section is particularly helpful – but I’d strongly suggest using a quality multimeter rather than those cheap ones from dollar stores. One tip I didn’t see mentioned: if you’re replacing batteries, take a quick photo of the wiring configuration with your phone before disconnecting anything. Also, don’t forget to flip the breaker off first – I noticed the article kind of glossed over that crucial safety step. Really solid advice overall though, especially the calibration test using a basic thermometer to verify accuracy. Saved me a $200 service call!