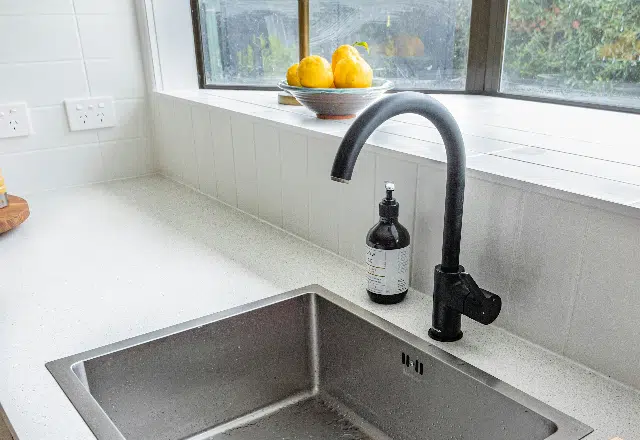
Updating the look and function of your kitchen often starts with little upgrades like installing a new faucet. Modern kitchen faucets come in a range of styles and finishes that can complement any decor. Tackling a DIY kitchen faucet installation project can save you money on plumber fees. With some basic tools and these comprehensive step-by-step instructions guiding you through the process, anyone can learn how to install a kitchen faucet successfully.
Before starting any work, ensure you have all the required supplies and tools on hand:
Also, obtain any specialty tools needed based on your kitchen sink type and faucet model like quick connect adapters or copper tube cutters to complete this project efficiently.
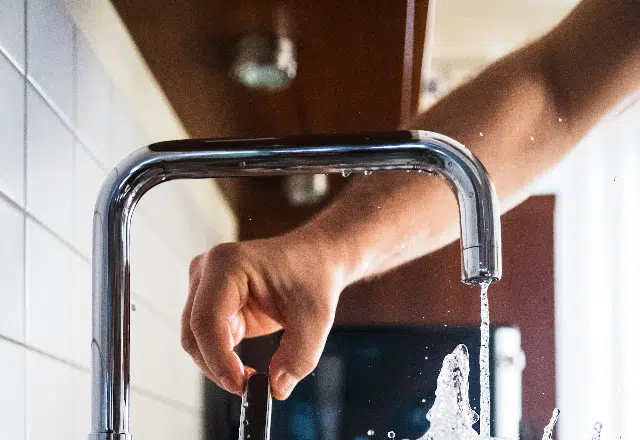
With your tools gathered, shutting off the water supply lines under the sink is next so no leaking occurs mid-installation. Locate shut-off valves and turn them clockwise fully to cut off the water. Open the faucet to release pressure and ensure water is no longer flowing. Place a bucket under pipes to catch any excess water.
Clear out under your kitchen sink workspace entirely in advance as well so you can access the area easily. Have paper towels handy to place small parts removed and catch drips while installing your kitchen faucet. Assemble all new faucet parts like washers, nuts and fittings so they are within reach.
Now comes removing the existing kitchen fixture from your sink:
Thoroughly clean your sink surface area with a non-abrasive cleaner. Ensure no debris or previous caulk is left so your new faucet can adhere properly. Rinse and dry completely. At this stage, take time inspecting tubes, supply lines and shut-off valves for cracks or leaks since fixing issues is easier before the install.
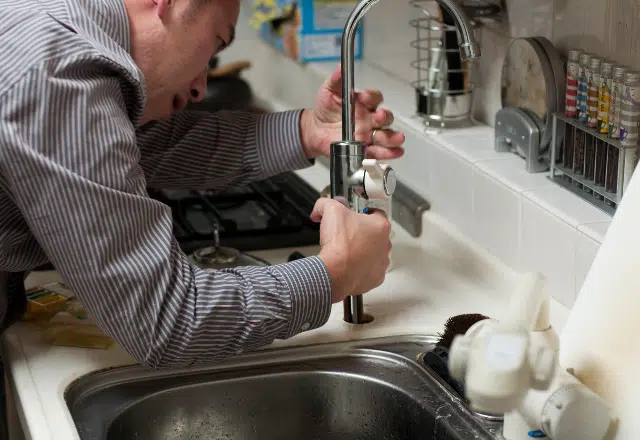
The real DIY kitchen faucet installation process begins now with these key steps:
Prior to completing your kitchen upgrade, verifying appropriate install and operation is crucial:
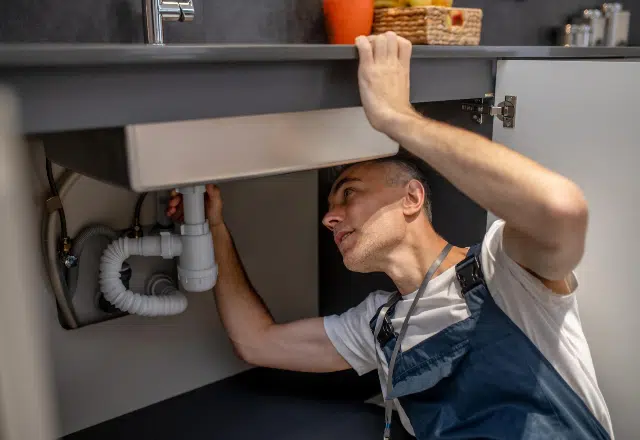
Your faucet is now fully operational! Finish off the professional looking kitchen upgrade with these final steps:
Installing a swiveling faucet isn’t drastically different from a standard faucet, but requires extra attention to a few details. The main difference is ensuring proper clearance for the swivel motion – you’ll need to check that nothing under the sink interferes with the base rotation mechanism. The water supply lines also need enough slack to allow for the swiveling movement without getting twisted or kinked.
Some swivel faucets come with a specific base plate or mounting system that’s slightly different from standard faucets. The mounting nuts might need precise tightening – too tight and the swivel won’t move smoothly, too loose and it could become wobbly. There’s often a small adjustment mechanism to control how easily the faucet swivels.
With the right mindset and preparation, homeowners can absolutely take on accessible upgrades like installing a kitchen faucet themselves without hiring out. Follow this comprehensive faucet installation guide outlining an efficient process from necessary supplies, removing old fixtures, properly mounting modern replacements and finally testing for successful function. Pay special attention to connecting supply lines securely, sealing the base and checking for leaks to get your newly upgraded kitchen faucet working wonderfully. Ensuring you have the essential tools for each step will lead to an expert looking finished product. Enjoy the renewed convenience a swiveling high-efficiency faucet provides during food prep and cleanup tasks for years to come every time you walk up to your kitchen sink!
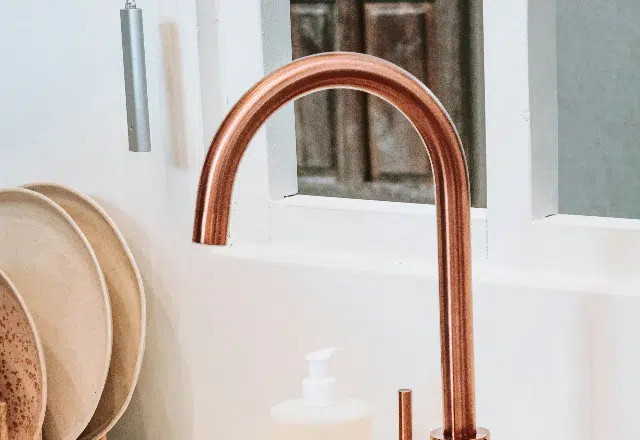
Installing a kitchen faucet is moderately easy if you have basic tools and can work in the tight space under your sink. The main challenges are removing the old faucet (especially if nuts are corroded), making sure you have compatible water supply lines, and working in the cramped space. You’ll need basic tools like wrenches and plumber’s tape. If you find severe corrosion or need plumbing updates when you look under the sink, it might be better to call a plumber.
You don’t necessarily need a plumber to install a kitchen faucet since it’s a fairly straightforward DIY project if you have basic tools and some mechanical aptitude. However, calling a plumber makes sense if you encounter any of these situations: corroded pipes or connections that need replacement, incompatible plumbing that requires modifications, lack of access to shut-off valves, or if you’re not comfortable working with plumbing.
The job typically takes 1-2 hours for a DIYer, while a plumber can usually complete it in under an hour. Consider your comfort level with plumbing work and how much time you’re willing to spend learning and doing the installation. Some people prefer paying a plumber for the convenience and peace of mind, especially since a poor installation could lead to leaks or water damage.
A plumber typically charges between $150-350 to install a kitchen faucet, including labor and any basic supplies like supply lines or plumber’s tape. However, the total cost can vary based on your location, the complexity of the installation, and whether any additional repairs are needed. For example, if corroded pipes need replacement or the plumbing needs updating to fit the new faucet, costs could rise to $400-600.
Many plumbers have a minimum service call fee (often around $100), even for a simple installation. Some charge by the hour ($75-150 per hour) while others offer flat rates for faucet installation. Handyman services might charge less, typically $100-200, but may not have the same plumbing expertise.
Q: What tools do I need to install a kitchen faucet?
A: The essential tools for a DIY kitchen faucet installation are adjustable wrenches, basin wrench, flashlight, bucket, plumber’s putty/caulk, and any special supplies that come with your specific faucet model. Having these basic items on hand will enable completing the install smoothly.
Q: How do I know if my water supply lines need replacing?
A: Signs that existing kitchen supply lines should be replaced when installing a new faucet include cracks, leaks, brittleness, corrosion or restricted water flow. Inspect lines thoroughly and replace any damaged ones before mounting the faucet for best functionality.
Q: Why does my new kitchen faucet drip?
A: A few common reasons a newly installed kitchen faucet might drip are improper seal with putty underneath, loose supply line connections, damaged washers, or lacking gaskets/O-rings in adapters. Double check for tight seals and be sure all necessary new washers/gaskets are used during install.
I bring over 9 years of dedicated plumbing experience to the table. As a seasoned professional in the plumbing industry, I've tackled a wide range of projects, from residential repairs to large-scale commercial installations.

